SmartPOS activation
We currently offer this product in the following countries:
| Countries | Netherlands, Belgium |
| Countries for partners | Netherlands, Belgium, Italy, Spain |
If you are interested in our Point of Sale solutions, email [email protected]
SmartPOS is an advanced POS terminal with Android applications, providing added functionality. It enables you to make payments through various options, such as manual input flow, cloud POS payment, or third-party on-device applications.
Prerequisites
To process payments, you will need:
- A MultiSafepay account
- A SmartPOS terminal
Activation
To activate a SmartPOS terminal, follow these steps:
- Sign in to your MultiSafepay dashboard .
- Go to Devices > Terminals.
- Click + Add terminal, then click SmartPOS.
- Below the Group, select a terminal group or click Add in new group. To learn more about terminal group creation and management, see our User guide - Terminal groups.
- Click Create.
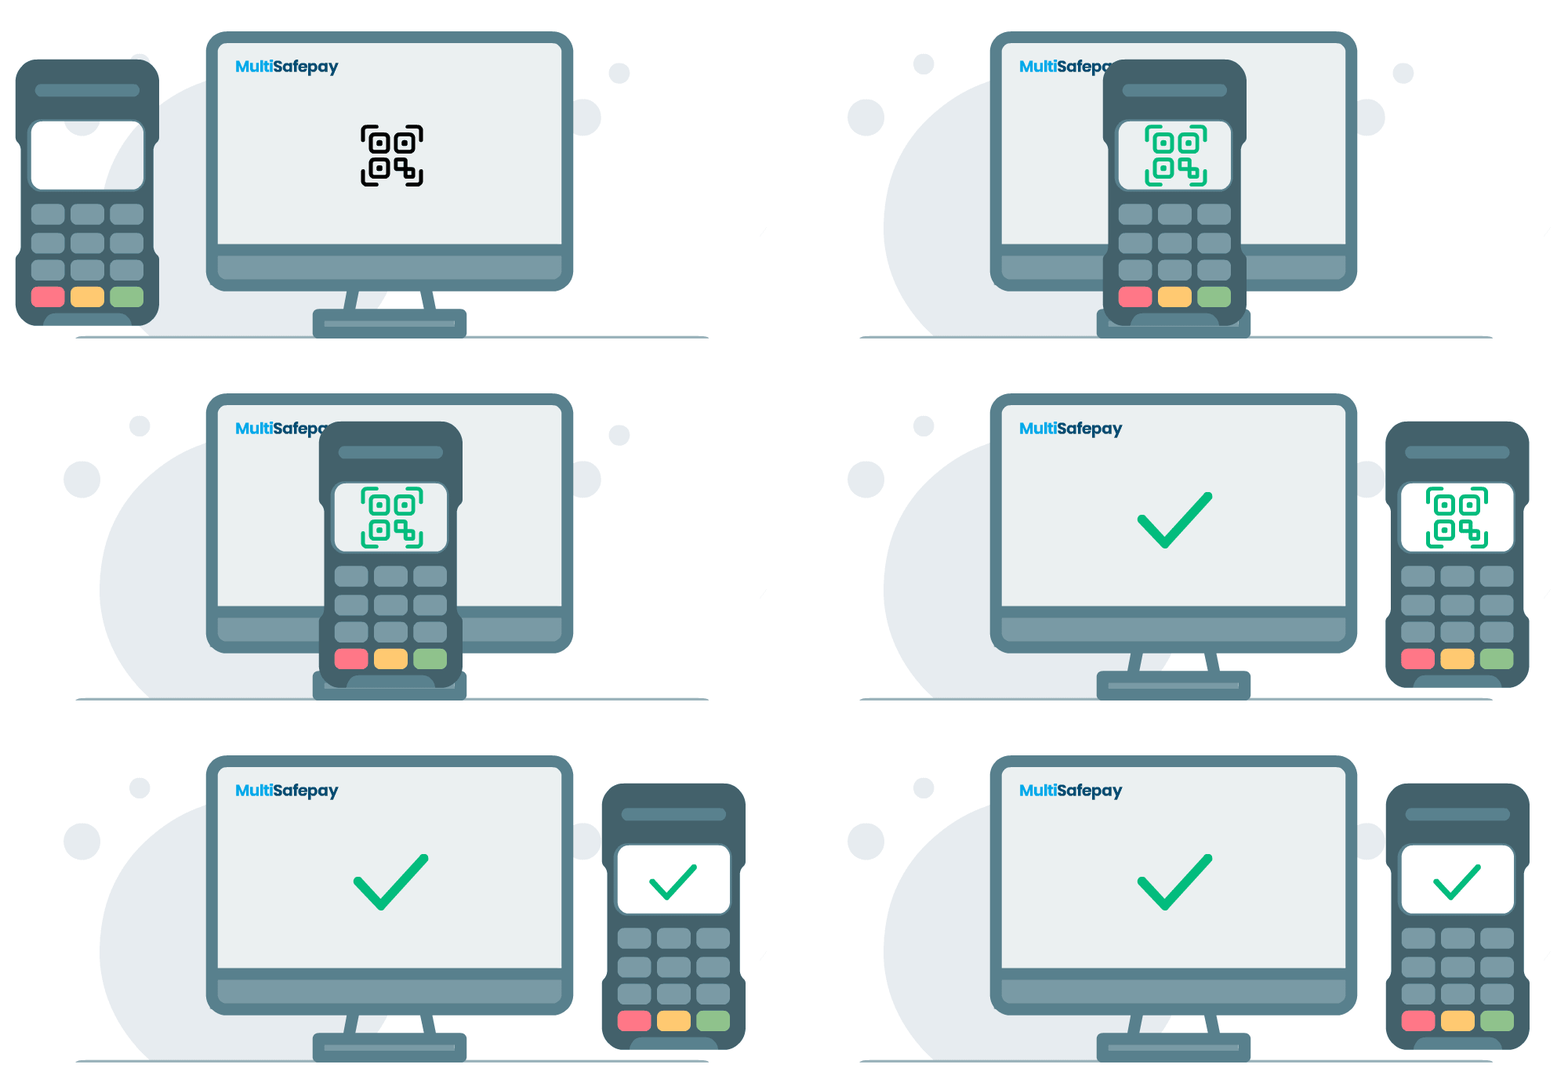
A QR code will appear on your screen.
Install the MultiSafepay payment app on your terminal to scan the QR code:
- Turn on your terminal and install the MultiSafepay app from the App Store.
- In the search field, enter MultiSafepay and select MultiSafepay Payment app.
- Grant permission to the MultiSafepay app.
A dialog with a QR scanner will appear. - Scan the QR code on your dashboard with your terminal.

Next step
Updated about 1 month ago