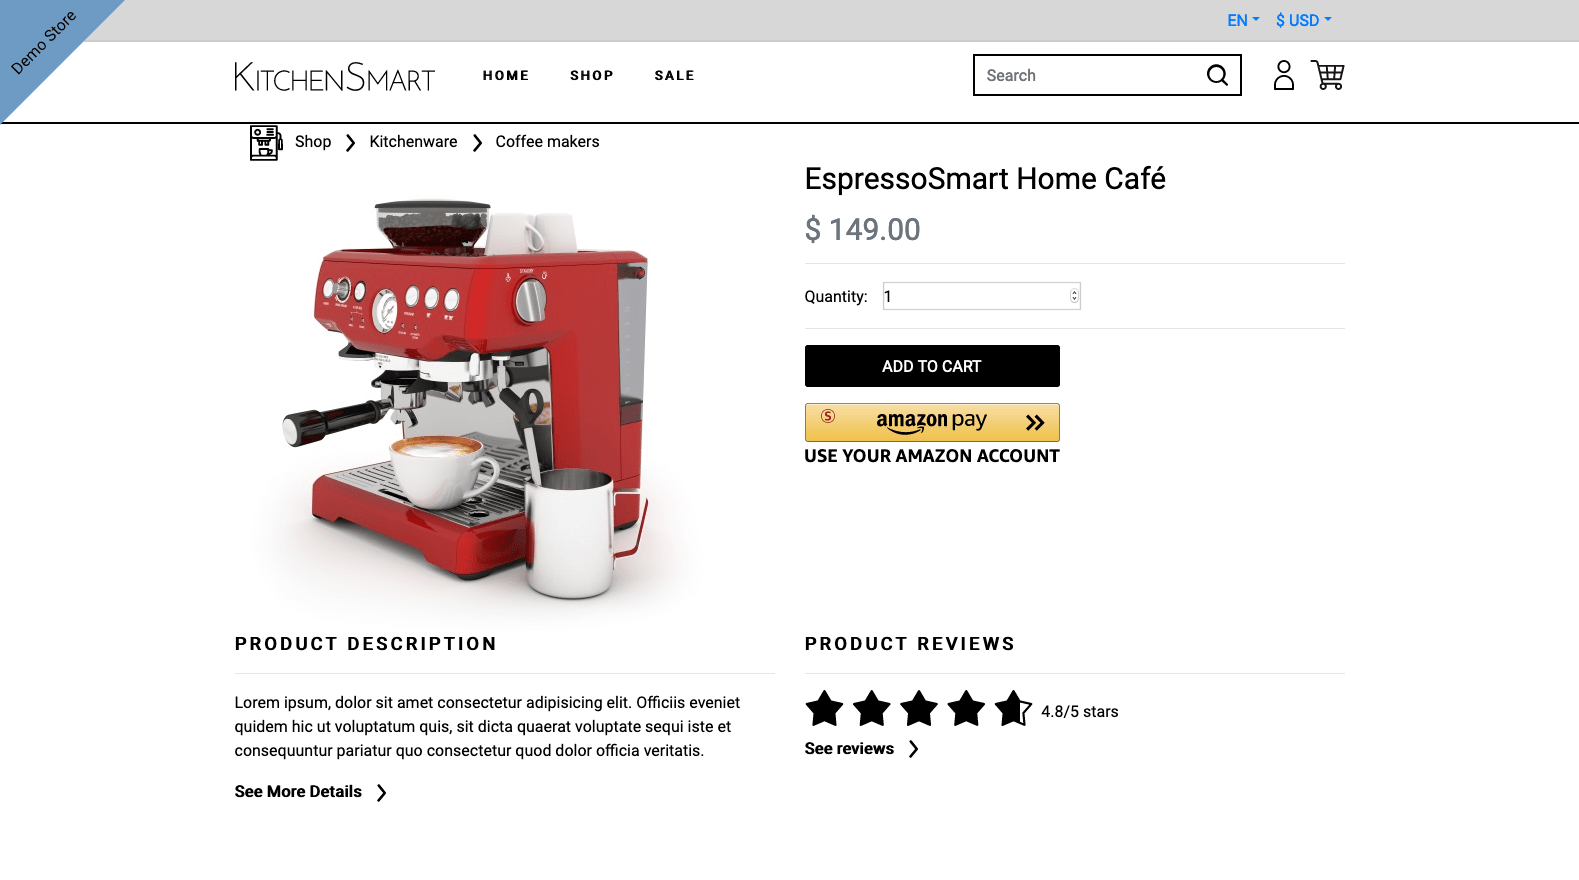
Amazon Pay direct integration
With direct integration, the Amazon Pay button appears in your checkout page, where customers complete payment without being redirected to a payment page.

Prerequisites
Supported browsers
- Apple Safari
- Google Chrome
- Internet Explorer
- Microsoft Edge
- Mozilla Firefox
- Amazon Pay must be activated in your MultiSafepay account.
- You need to have an Amazon Payments merchant account .
- Add all domains that you plan to integrate with Amazon Pay to the JavaScript Origins in Seller Central .
- All domains must comply with Amazon Pay's Acceptable Use Policy .
1. Place the Amazon Pay button
Create an element in the <body> of your checkout page where you want to display the Amazon Pay button:
<div id="AmazonPayButton"></div>⚠️ Note: This element is populated in a later step. For more information, see Display the Amazon Pay button below.
2. Create an order
From your server, create an order > Wallet order. In the Request pane, see Examples > Amazon Pay direct.
Extract the payment_data object from the response.
For 3D Secure authentication, add customer.browser object in your request. See recipe - Customer browser .
3. Display the Amazon Pay button
To create an Amazon Pay button, in the AmazonPayButton element, add a script element with the src set to the value returned in payment_data.js. Use amazon.Pay.renderButton() with the data returned in the payment_data.payload object:
<div id="AmazonPayButton"></div>
<script src="{{payment_data.js}}"></script>
<script type="text/javascript" charset="utf-8">
    amazon.Pay.renderButton('#AmazonPayButton', {
        merchantId: 'merchant_id',
        publicKeyId: 'xxxxxxxxxx',
        ledgerCurrency: 'EUR',
        checkoutLanguage: 'en_GB',
        productType: 'PayAndShip',
        placement: 'Checkout',
        buttonColor: 'Gold',
        createCheckoutSessionConfig: {
            payloadJSON: 'payload',
            signature: 'xxxx'
        }
    });
</script>
The button is responsive and it inherits the size of the container element. We recommend specifying the size of the container element, or the button may be distorted if the customer zooms in or out on their browser.
When the customer clicks the button, they are redirected to Amazon Pay to complete payment. If you need to control the Amazon Pay button click event, see Decouple button click and checkout below.
If payment is:
- Successful, the customer is redirected to the URL in
redirect_url - Unsuccessful, the customer is redirected to the URL in
cancel_url
Decouple button click and checkout
To decouple displaying the Amazon Pay button and checkout:
- To display the button, use
amazon.Pay.renderButton(). - To start checkout, use
amazonPayButton.initCheckout().
var amazonPayButton = amazon.Pay.renderButton('#AmazonPayButton', {
   merchantId: 'xxxxx',
   publicKeyId: 'xxxxxxxxxx',
   ledgerCurrency: 'EUR',
   checkoutLanguage: 'en_GB',
   productType: 'PayAndShip',
   placement: 'Cart',
   buttonColor: 'Gold'
});

amazonPayButton.onClick(function(){
  // Define your custom actions here

  amazonPayButton.initCheckout({
    estimatedOrderAmount: { "amount": "109.99", "currencyCode": "EUR"},
    createCheckoutSessionConfig: {
      payloadJSON: 'payload',
      signature: 'xxxx',
      publicKeyId: 'xxxxxxxxxx'
    }
  });
});
4. Test your integration
To test your Amazon Pay direct integration, you need a MultiSafepay test account .
To test, follow these steps:
- Create an order > Wallet order.
Example: Amazon Pay direct - On the Test platform page, wait for 5 seconds or click Amazon Pay.
- From the Test scenario list, select Completed.
- Click Test.
The payment is processed in your MultiSafepay test account as Successful, with order status Completed, and transaction status Initialized.\
Support
Email [email protected]
Updated 15 days ago