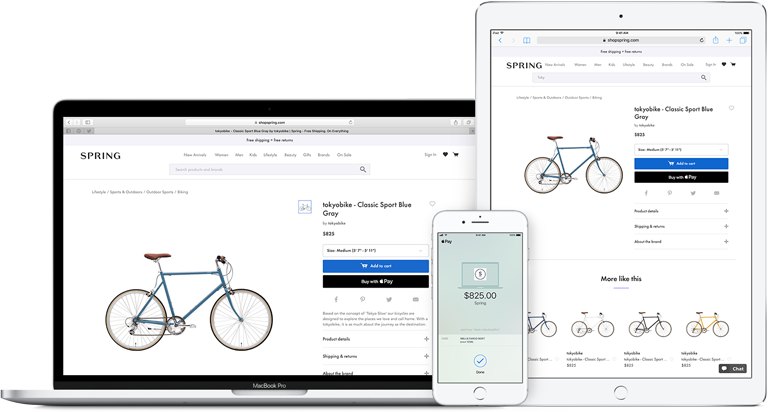
Testpage: Apple Pay integration
With direct integration, the Pay button appears in your checkout page. Customers complete payment without being redirected to a payment page.
NoteIf using:
- Your own integration, follow all steps in this manual.
- A ready-made integration, which builds the Apple Pay button, starts from Step 1, Step 2, and Step 6.
Prerequisites
Apple server requirements
- All pages that include Apple Pay must be served over HTTPS.
- Your domain must have a valid SSL certificate.
- Your server must support the TLS protocol version 1.2 or later.
For more information, see Apple Developer – Setting up your server .
Customer device compatibility
To see which Apple products are compatible with Apple Pay, see Apple Developer – Devices compatible with Apple Pay .
1. Validate your domain
-
Unzip the folder and select the relevant file.
-
Place the domain validation file at:
https://{your-domain}/.well-known/apple-developer-merchantid-domain-association
2. Request to register
To request registration for Apple Pay direct, email the relevant site ID to [email protected]
3. Check for Apple Pay support
-
From the customer's device, check if Apple Pay is supported:
if (window.ApplePaySession && ApplePaySession.canMakePayments())For more information, see Apple Developer – Checking for Apple Pay availability .
-
If Apple Pay is supported, display the Pay button in your checkout page.
To style the button, see Apple Developer:
4. Create an Apple Pay session
Client-side integration
When the customer clicks or taps the Pay button:
-
Create a
paymentRequestobject containing details about the order.var ApplePayRequest = { "countryCode": "NL", "currencyCode": "EUR", "merchantCapabilities": [ "supports3DS" ], "supportedNetworks": [ "amex", "maestro", "masterCard", "visa", "vPay" ], "requiredBillingContactFields":[ "postalAddress", "billingAddress" ], "total":{ "label": "Your Merchant Name", "type": "final", "amount": 15.95 } };How to request shipping and billing details
You can use
requiredBillingContactFieldsto collect the customer's billing and/or shipping details from Apple Pay. If the customer hasn't previously provided their billing address to Apple Pay, they are prompted to do so.📘 Note: The billing and shipping details are not required to create Apple Pay direct orders with MultiSafepay. However, since the collected details are available to you in unencrypted form, you can use them to reduce checkout friction and manage orders.
📘 Note: The
total.amountis in euros, whereas theamountin MultiSafepay order requests is in eurocents.For more information about the
ApplePayRequestobject, see Apple Developer – ApplePayRequest . -
Create an Apple Pay session.
var session = new ApplePaySession(10, ApplePayRequest);- As the first argument, specify the Apple Pay version your site supports.
- As the second argument, pass the
ApplePayRequestobject.
For more information about Apple Pay versions, see Apple Developer – Apple Pay on the web version history .
📘 Note: You can only create a session within a user gesture handler. For example, you can create the session when the user taps the Pay button.
For more information, see Apple Developer – Creating an Apple Pay session .
-
Create an
onvalidatemerchantevent handler, which is called once the Apple Pay payment form is displayed to the customer.session.onvalidatemerchant = function (event) { var validationUrl = event.validationURL; var originDomain = window.location.hostname; // Request an Apple Pay merchant session from your server // The server-side request requires the validationUrl and originDomain values // If you succesfully create a session from your server session.completeMerchantValidation(<apple-pay-payment-session-data>); };For more information, see Apple Developer:
-
To begin the merchant validation process, call the
session.begin()method.session.begin();This displays the Apple Pay payment sheet to the customer and triggers the
onvalidatemerchantevent handler.
Server-side integration
-
With the
validationUrlandoriginDomainfrom the client's device, request an Apple Pay merchant session from MultiSafepay.curl -X POST "https://api.multisafepay.com/v1/json/wallets/sessions/applepay" \ -H "Authorization: Bearer <website-api-key>" \ -d '{ "origin_domain": "originDomain", "validation_url": "validationUrl", }'📘 Note: The actual code depends on your server-side framework.
A successful response contains an Apple Pay merchant
session, which expires after five minutes. -
Pass the
sessionto the client's device to use as an argument in thesession.completeMerchantValidation()call.
5. Create an order
Client-side integration
Create an onpaymentauthorized event handler, which is called once the customer authorizes the payment with Touch ID, Face ID, or passcode.
session.onpaymentauthorized = function (event) {

    // Create a payment object
    var payment = event.payment;

    // With the payment object:
    // - Create an Apple Pay direct order from your server
    // - Return the success attribute of the response

    if (success == true) {
        session.completePayment(ApplePaySession.STATUS_SUCCESS);
    // Redirect the customer to your success page
    };
    if (success == false) {
        session.completePayment(ApplePaySession.STATUS_FAILURE);
    };
};
The payment object contains the customer's encrypted payment details (payment.token) and, if requested, the billingContact and shippingContact.
For more information about the payment object, see Apple Developer:
Server-side integration
- From your server, create an order > Wallet order.
See also Examples > Apple pay direct, using thepayment.tokenproperty.
To use thepayment.tokenproperty in the order request, convert it to an escaped JSON string.
📘 Note: The billing and shipping details are not required for Apple Pay direct orders.
-
To access the shipping and/or billing details from the
paymentobject, use thepayment.billingContactandpayment.shippingContactproperties. -
To add the details to the order request, format them in accordance with create order requests.
📘 Note: Billing and shipping data are not encrypted.
For more information about the payment object and its properties, see Apple Developer – ApplePayPayment .
6. Test your integration
To test your Apple Pay direct integration, you must:
- Meet the testing prerequisites.
- Have an Apple Developer account , configured for Apple Pay, with at least one Apple Pay test card in your wallet.
To test, follow these steps:
- In your integration, click the Apple Pay button.
You can ignore the "This device is not supported" error. - Sign in to your Apple Developer account and select your test card.
- Authorize the payment.
✅ Success! The transaction is completed.
Support
Email [email protected]
Updated 8 months ago